
DIY: Make Your Own Spring Inspired Pop Up Card With FREE Printable Template
Introduction
If February was about slowing down and reassessing our intentions, March is about pressing the reset button—welcoming renewal, fresh energy, and new creative projects.
As we step into spring, the days are growing brighter and the return of sunshine brings thoughts of florals, colour, and blooming gardens. With spring holidays just around the corner, we thought it would be the perfect time to share a creative project inspired by the beauty of spring.
In this blog, we’ll show you how to make your own DIY Spring Inspired Pop Up Card — a handmade card you can keep, display, or gift to someone special during the spring season.
The idea for this project came to us while exploring the fascinating craft of paper engineering — the art of designing interactive paper structures that move and unfold. During our research, we discovered inspiring creators such as Yoojin Kim, a bestselling pop up book designer whose intricate paper structures bring stories to life.
Or the playful and colourful work of Julia from PaperJulia, a graphic and branding artist who transforms paper into fun, quirky designs.
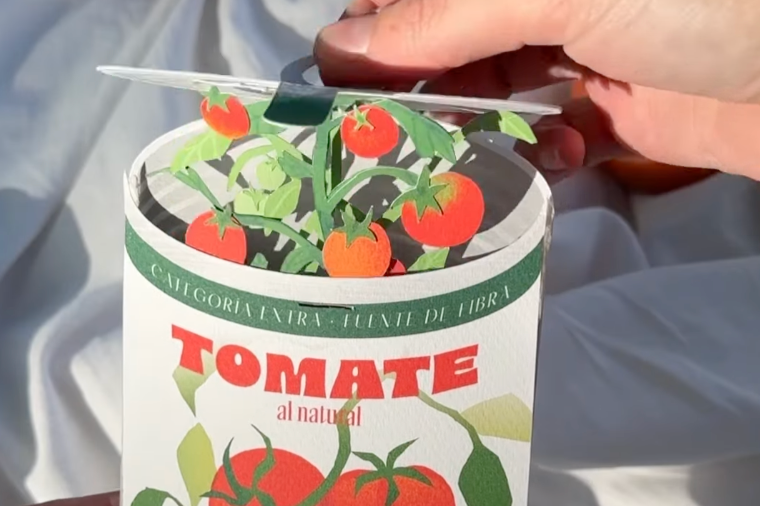
Looking at these wonderful examples of paper engineering, we realised that many pop-up cards rely on a simple but clever mechanism—one that is surprisingly easy to recreate at home.
To make things even easier, we’ve created a FREE printable template that will guide you step-by-step in making your own spring-inspired pop up card. Once you’ve assembled the basic structure, you can decorate it however you like—adding your own colours, patterns, and personal touches.
⚠️ Our FREE Pop Up Card Template ⚠️
Ready to get started? Let’s make something beautiful.
How To Make Your Own Spring-Inspired Easy Pop Up Card
What Do You Need
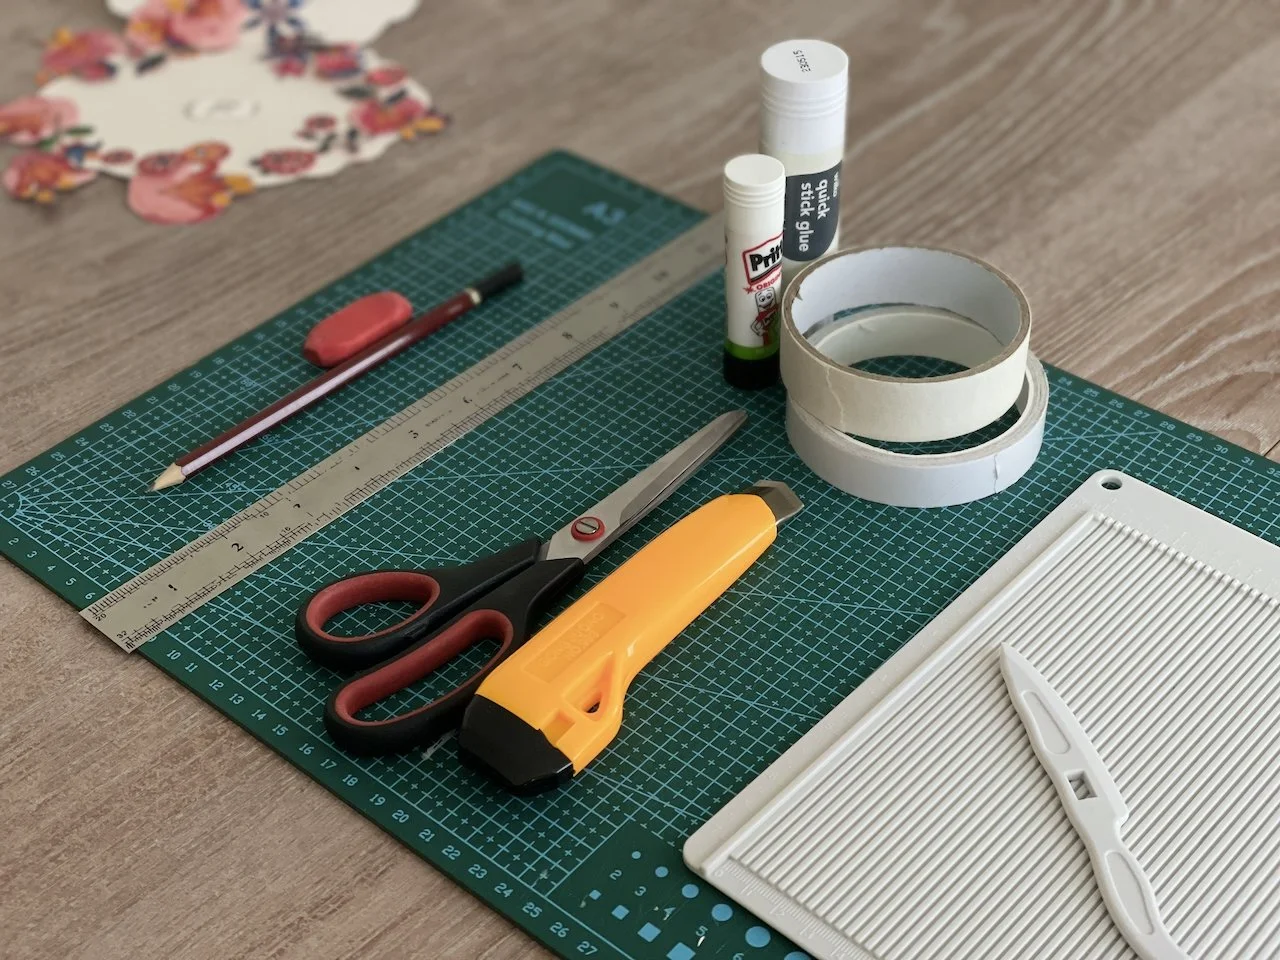
Before you begin, gather the following materials:
A4 thick card paper
Home printer
Our FREE printable pop up card template
To cut: scissors or stanley knife or blade
To stick: glue stick or double sided tape
Basic tools: pencil, eraser, ruler
Optional: Scoring knife, cutting mat, masking tape, test draft paper, colouring (acrylic paint or markers), ribbons and any other decoration you would like to add
Getting Started
1. Print the Template
Open our FREE Spring Bloom Pop-Up Card Template and print it onto A4 card paper using your home printer.
For the best results, we used ivory card paper (280gsm) and printed double-sided manually with the following settings: A4 borderless, Print in colour, Matte card paper setting
👉 If you prefer to paint or design the front of the card yourself, we’ve also included a blank version in the Printable Template Pack.
👉 Make sure you subscribe to our newsletter to receive more free printable templates and creative DIY guides in the future.
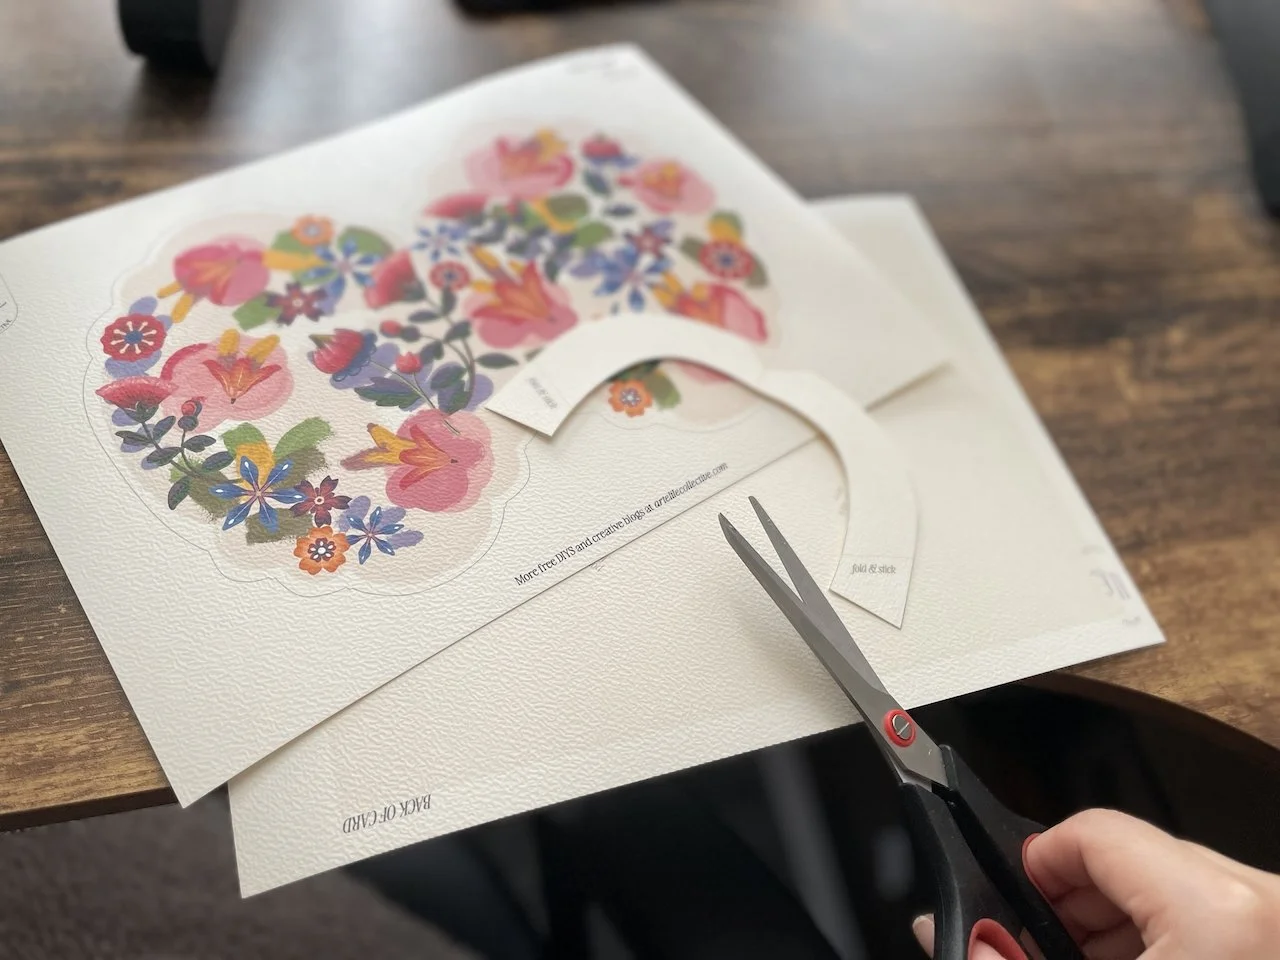
2. Cut Cut Cut
Using scissors or your preferred cutting tool, carefully cut out:
The front and back of the card
The pop-up arch mechanism (we’ve included a spare just in case!)
The floral and bloom decorations
There’s no limit to how you decorate your pop-up card—these floral elements are simply our example. If you're feeling creative, you can paint or draw your own flowers, ferns, or any decorative element you would like.
👉 Optional:
Paint the back of the pop-up arch and decorative elements to add depth and contrast. For our card, we used a dark blush colour to create dimension. Allow the paint to dry completely before moving to the next step.
⚠️ Important:
If you did not print double-sided, you will have two separate card pieces (front and back). Glue these together first to create the main card before continuing.
Once all elements are ready, it’s time to move on to….
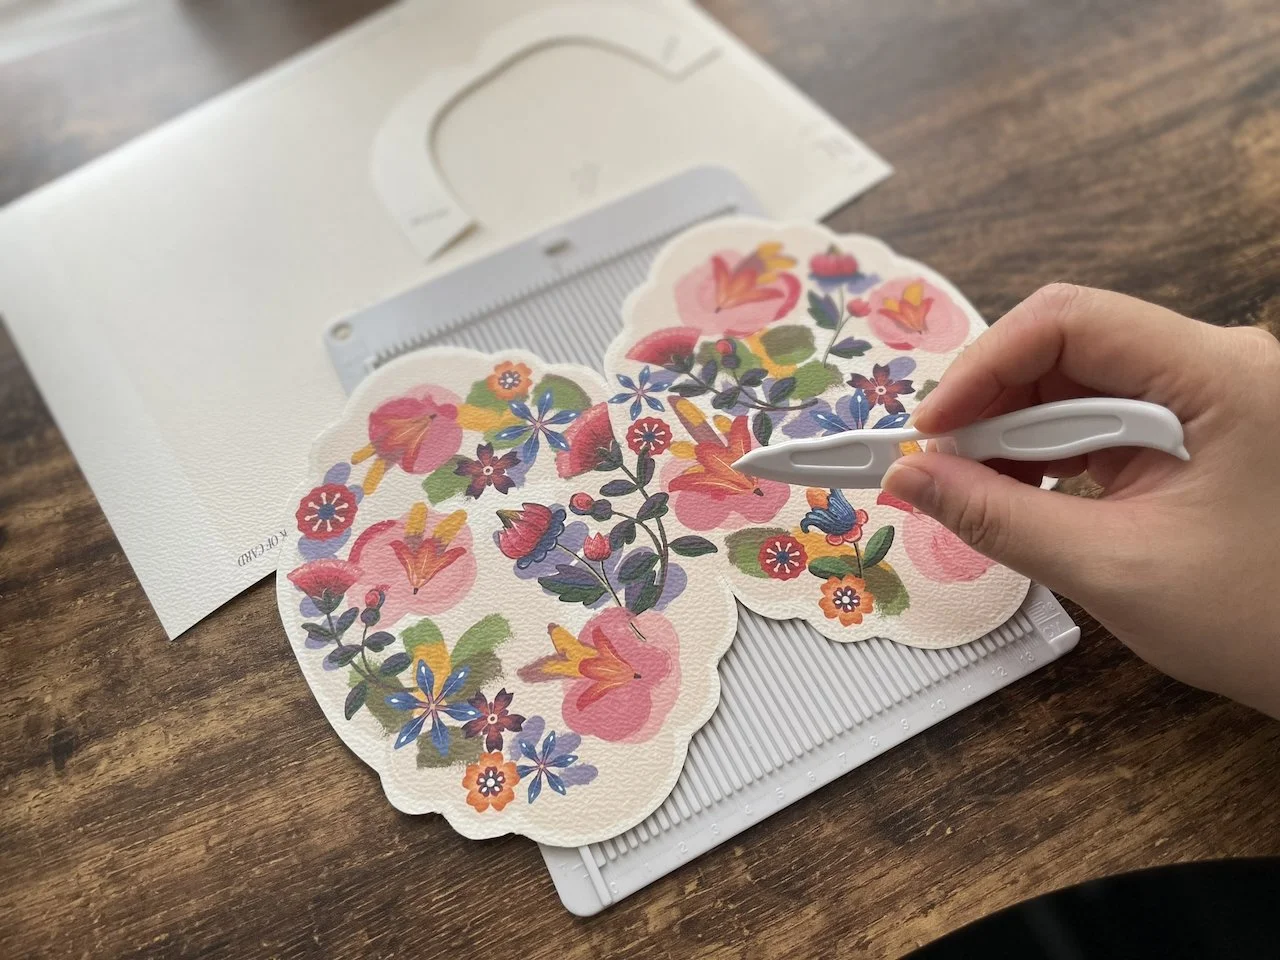
3. Score and Fold
Fold the card in half along the centre folding line.
If you have a scoring tool and board, use them for a crisp fold. Otherwise, simply fold carefully using a ruler to guide the line if needed.
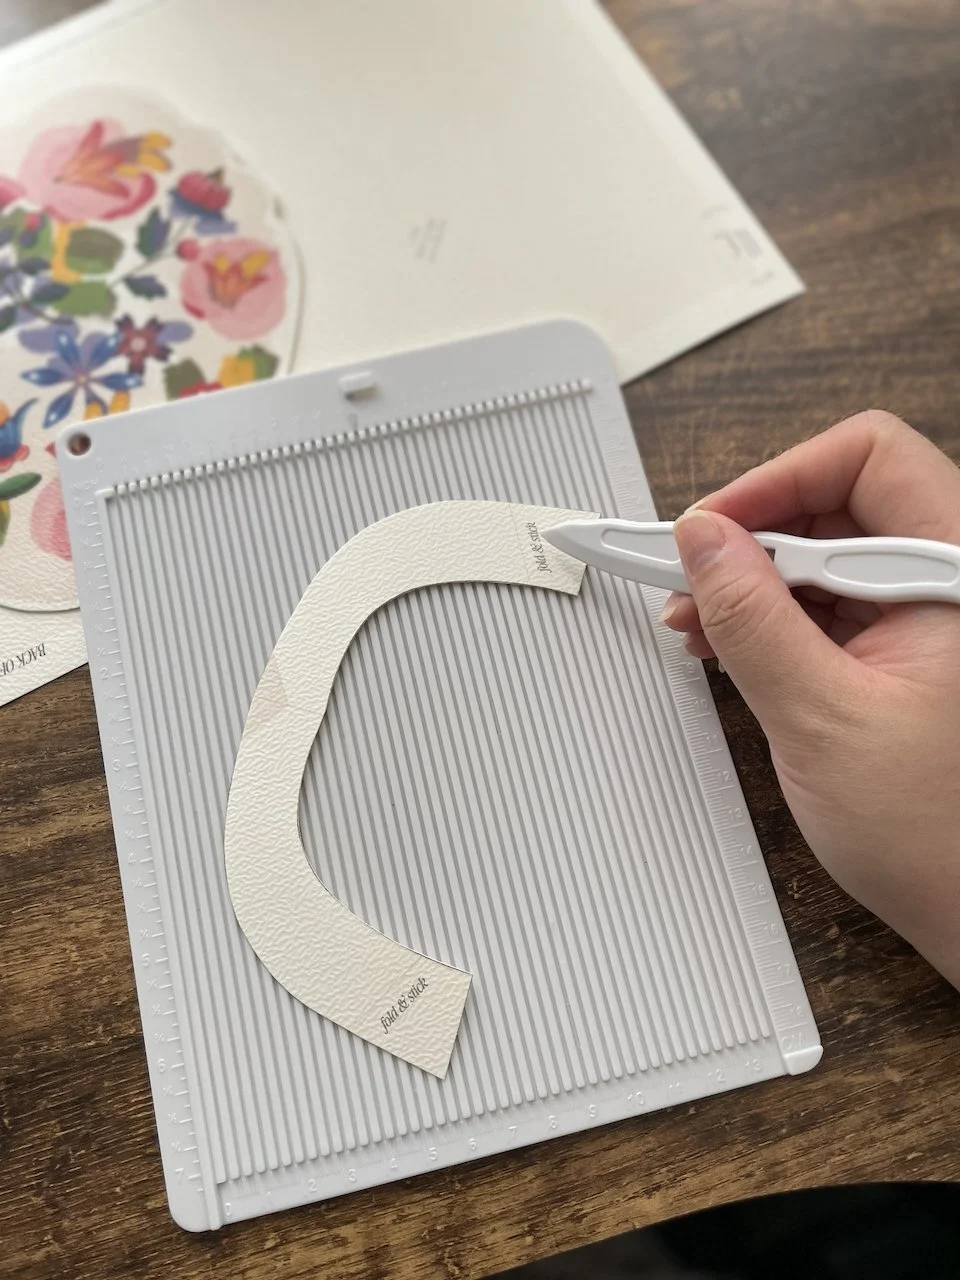
Next, fold the pop up arch along the lines marked on the template.
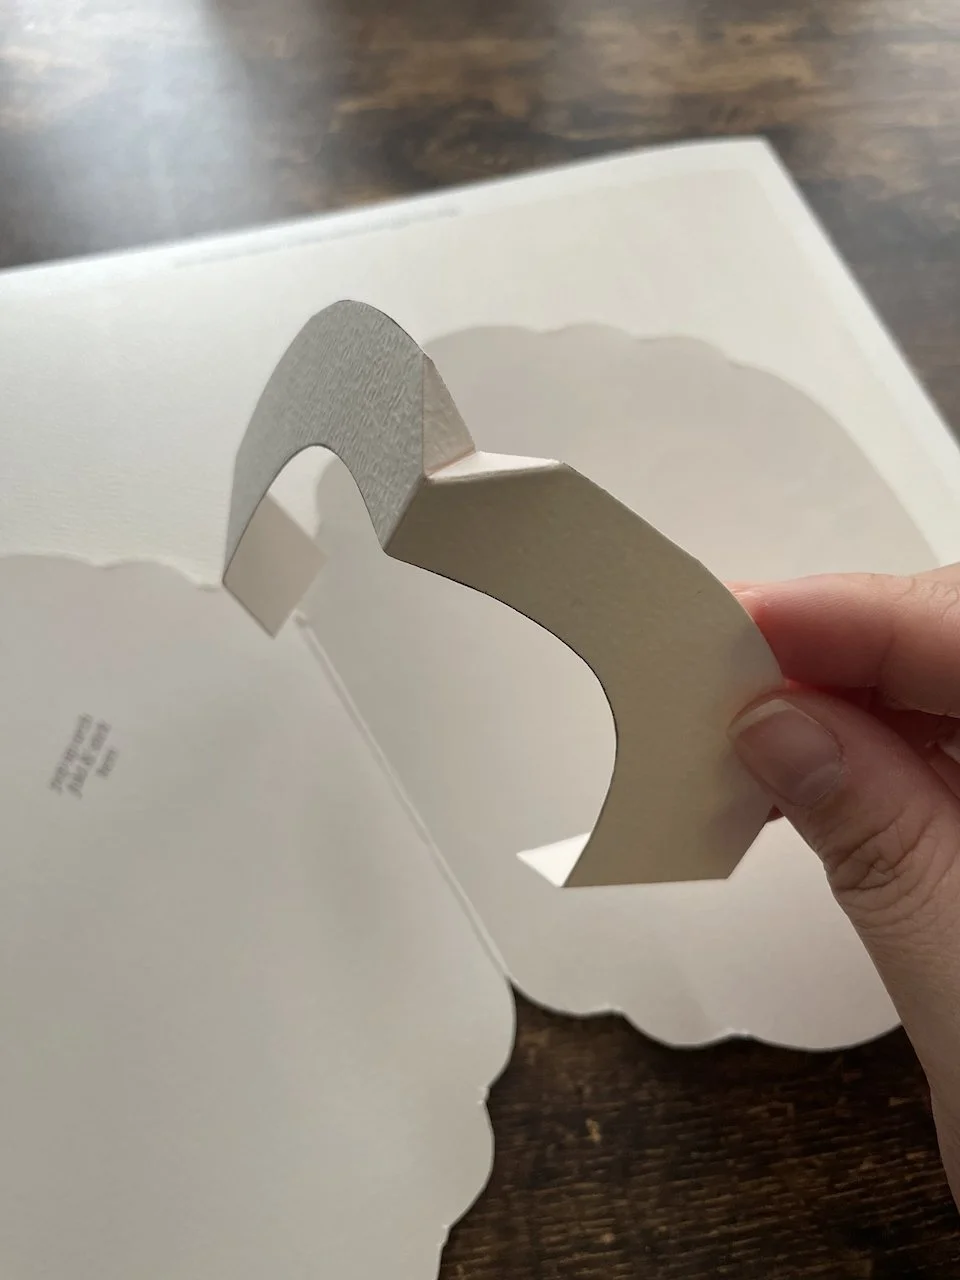
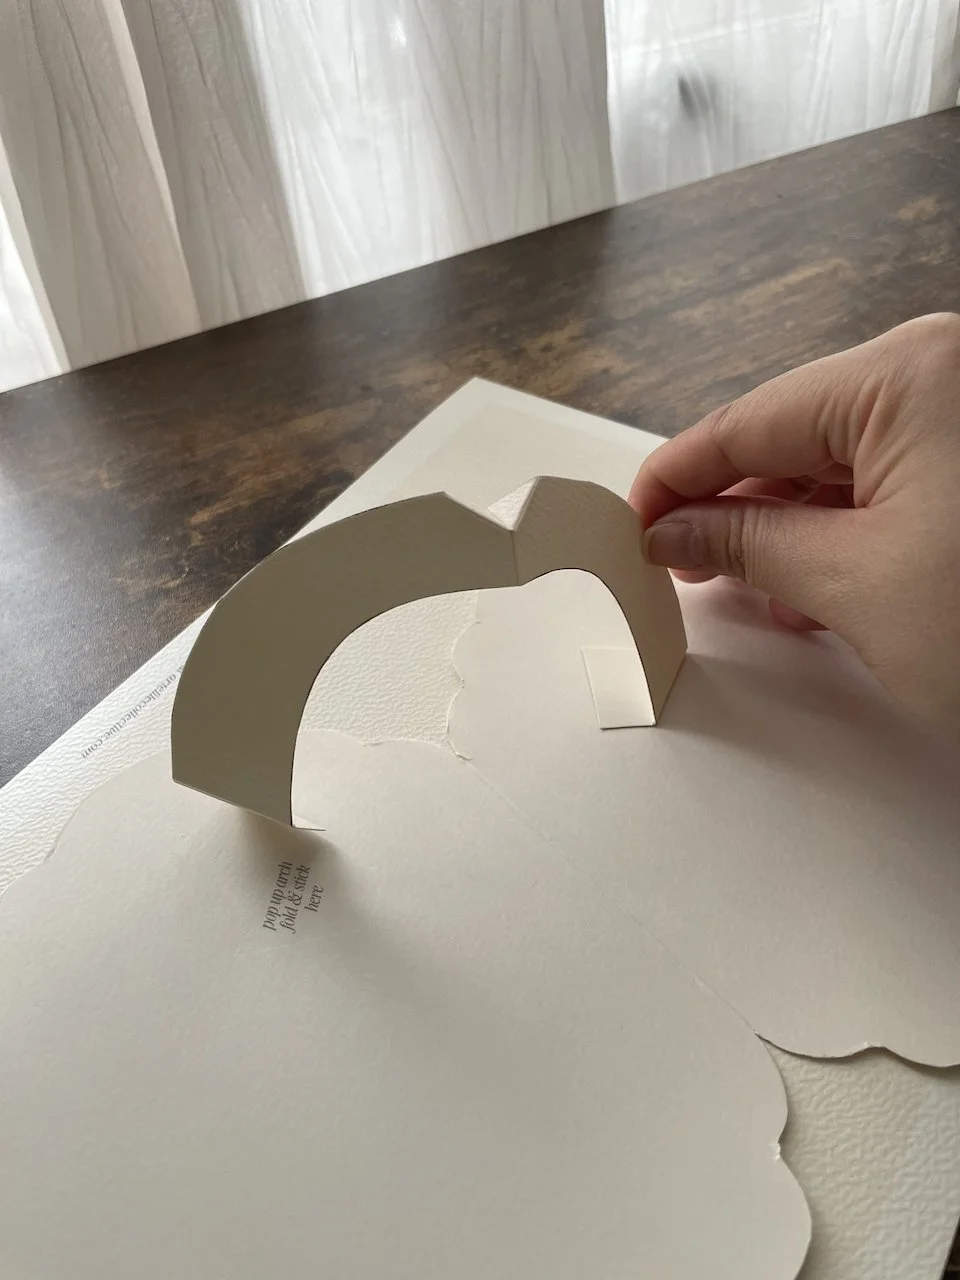
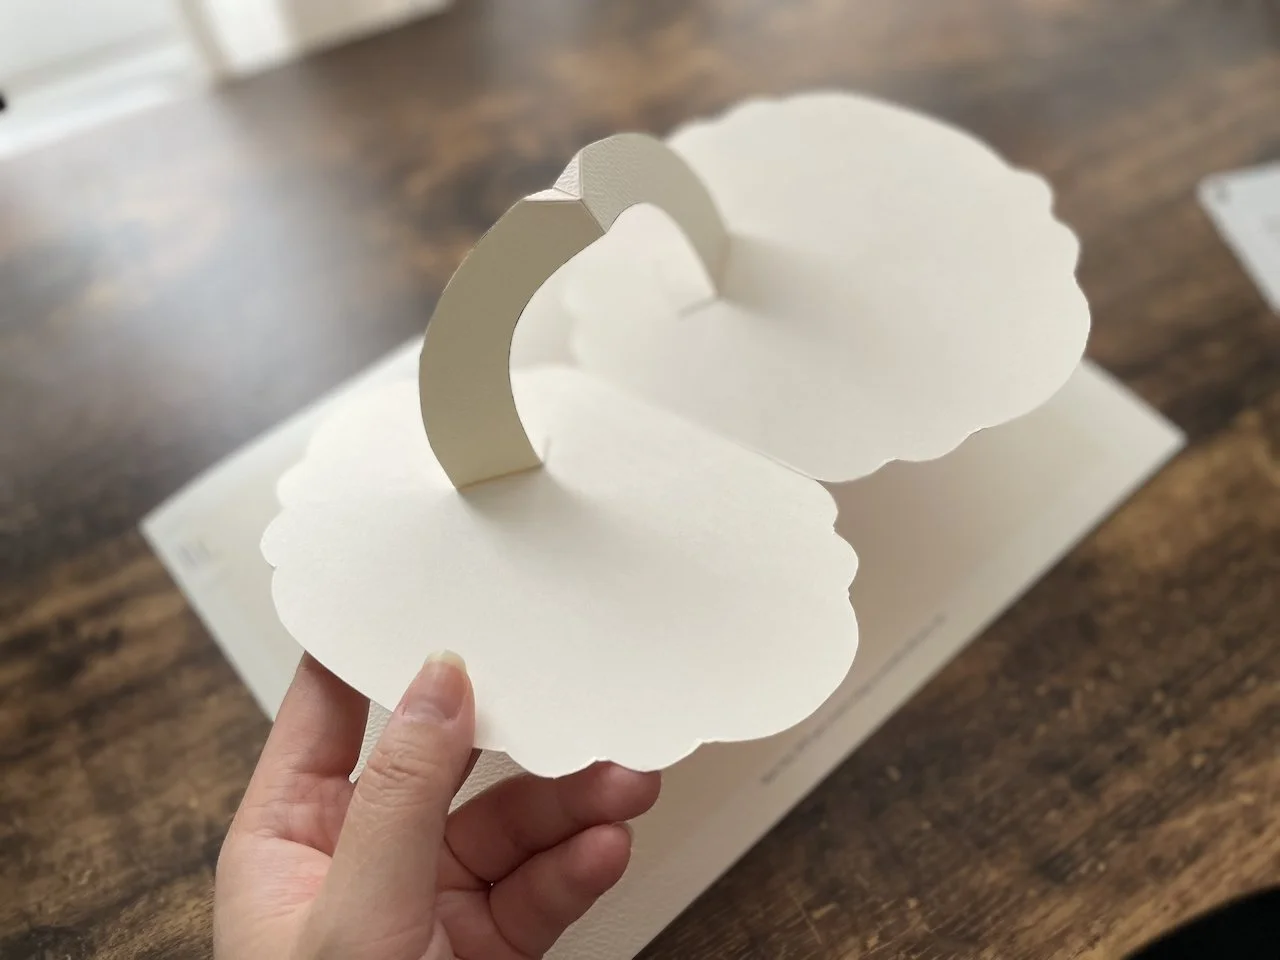
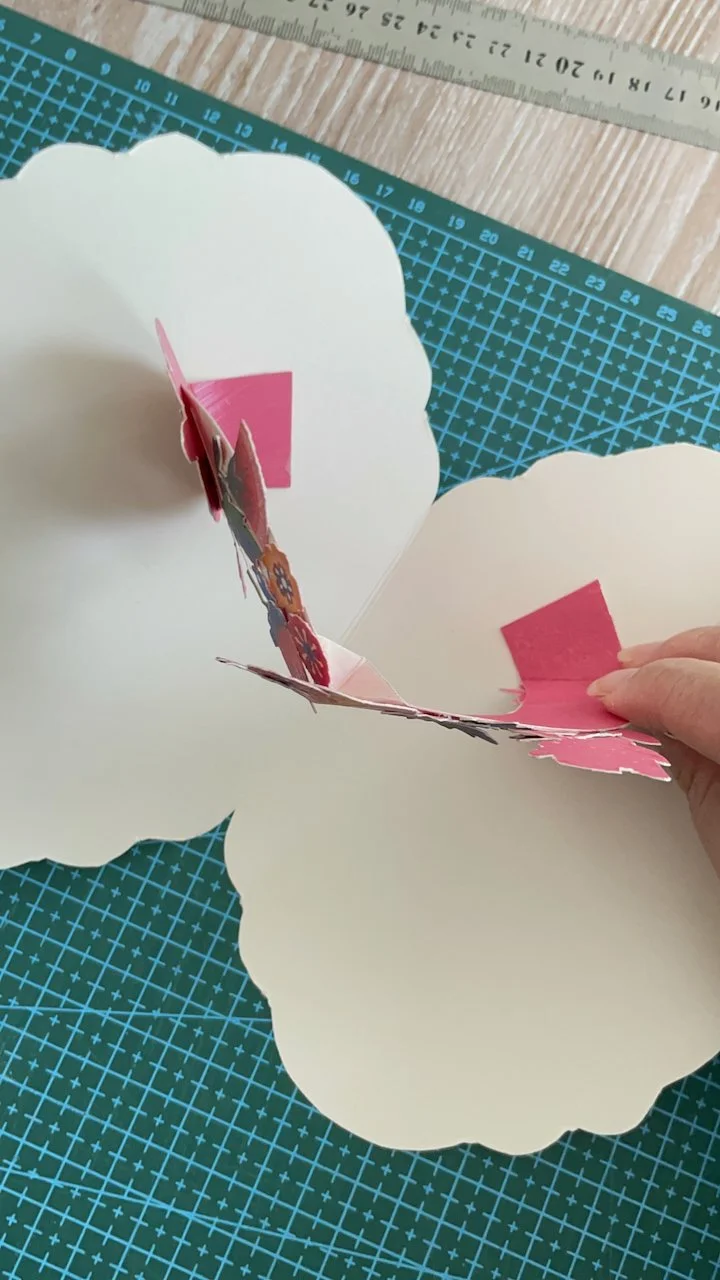
4. Attach the Pop Up Arch
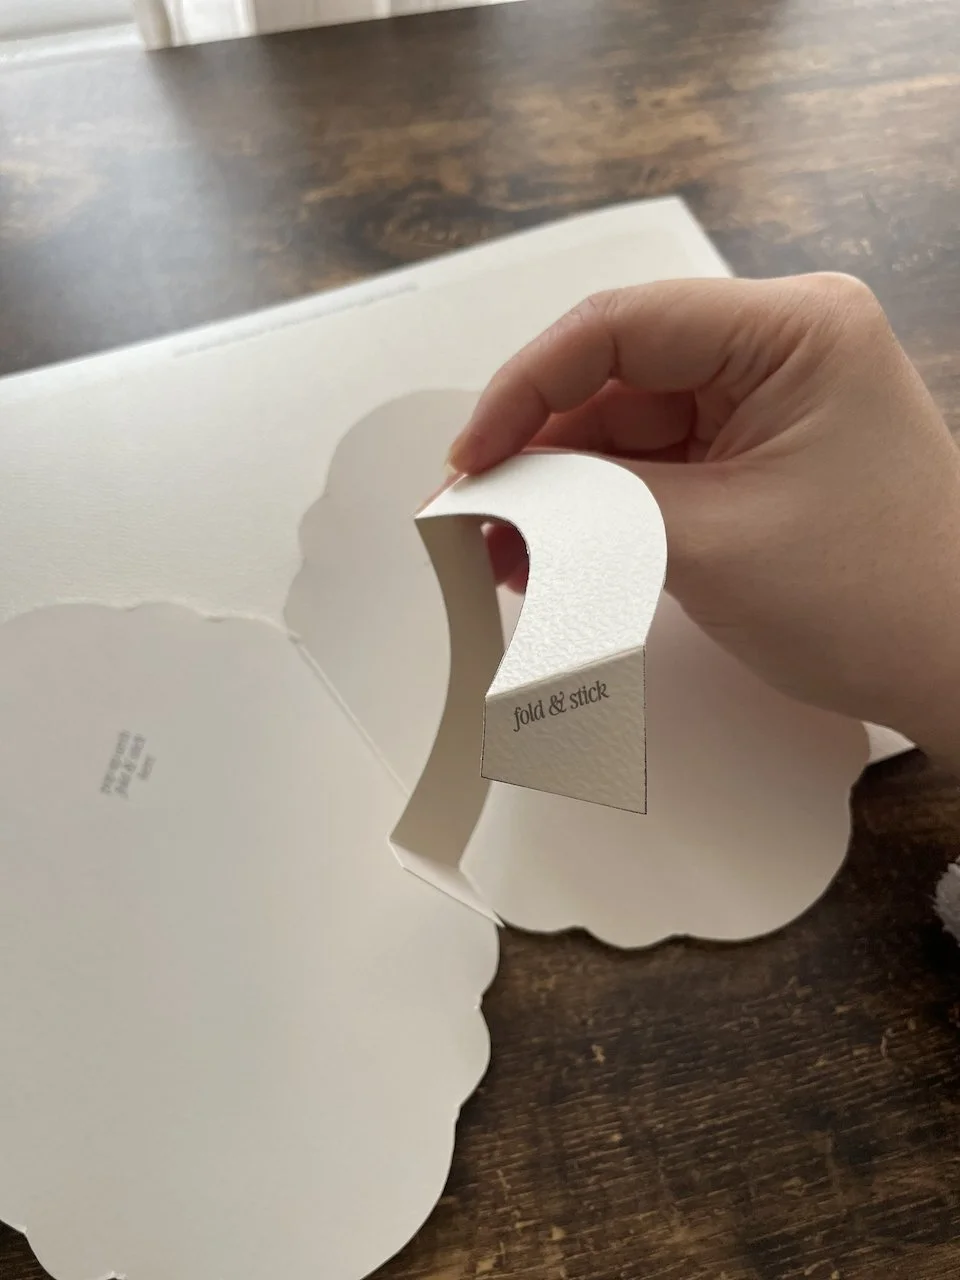
Stick the pop-up arch inside the card where indicated on the template.
👉 Tip: Use masking tape to temporarily hold the pop-up arch in place until you're happy with the mechanism.
Use whichever adhesive works best for you. We like alternating between double-sided tape and glue stick. Apply glue or tape across the entire front of the pop-up arch, except for the areas marked “No Glue.”
⚠️ Important:
Do not apply glue or tape to the section marked “No Glue.”
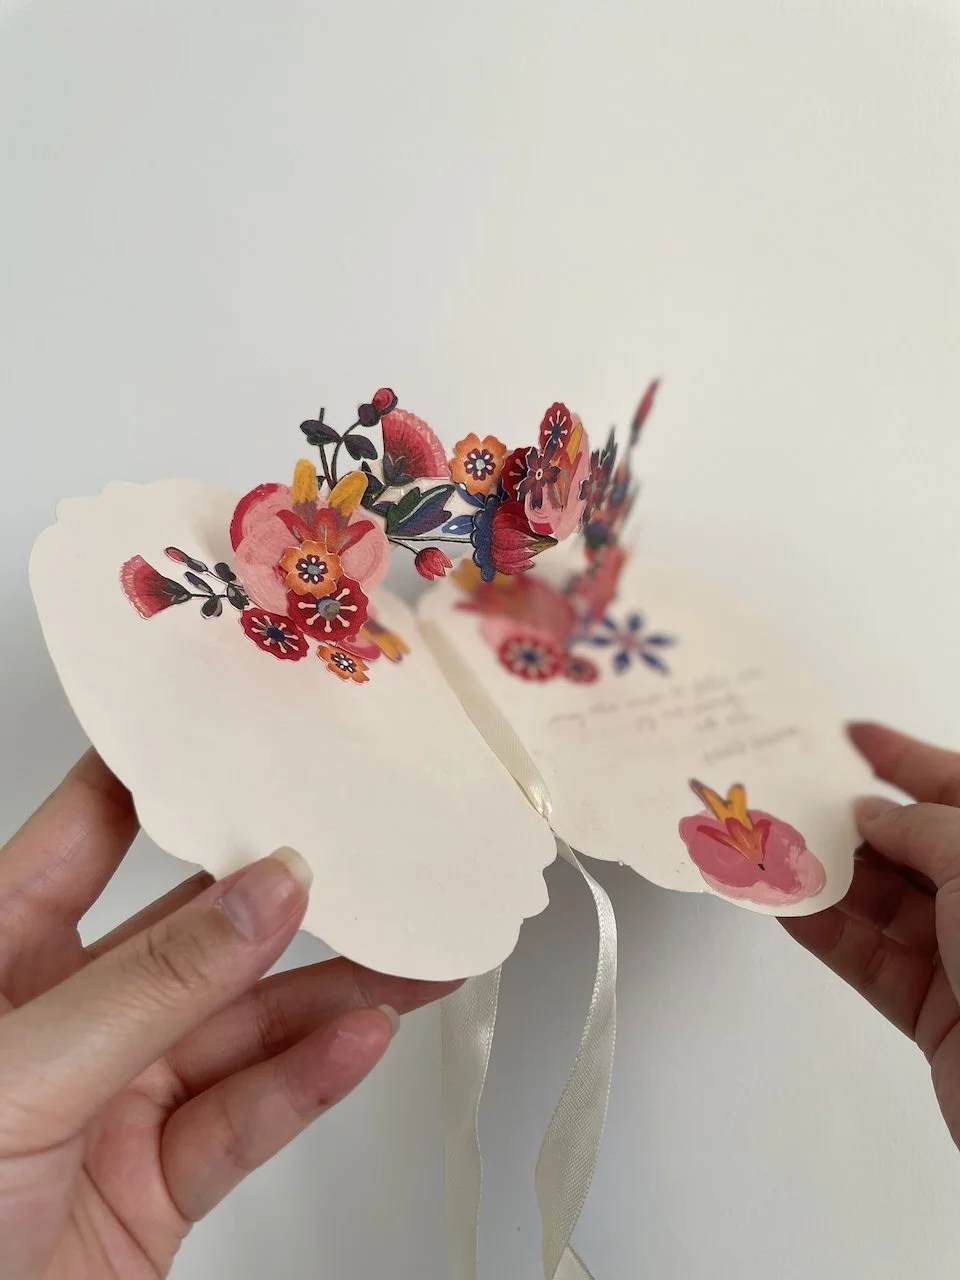
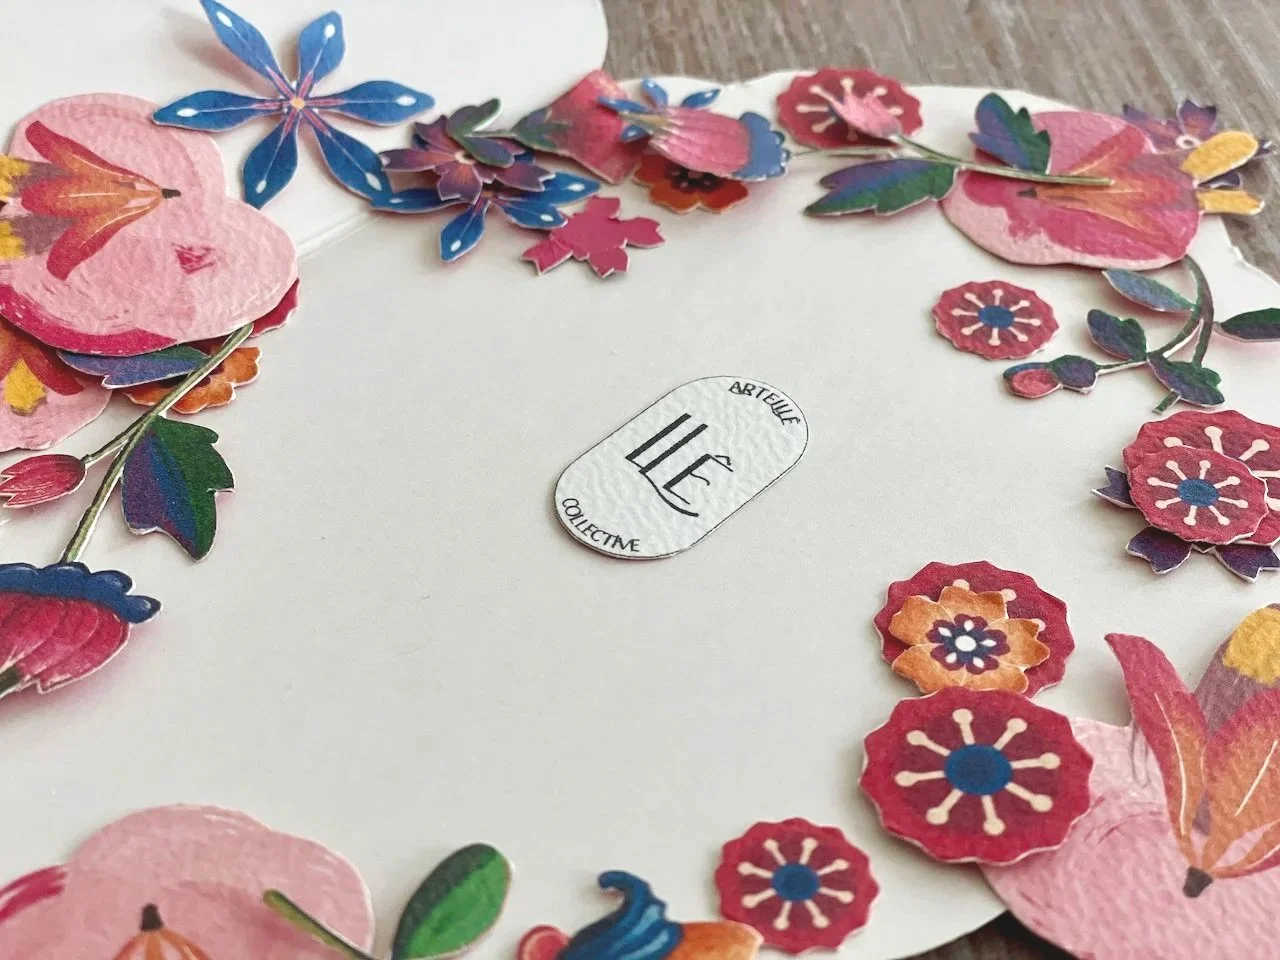
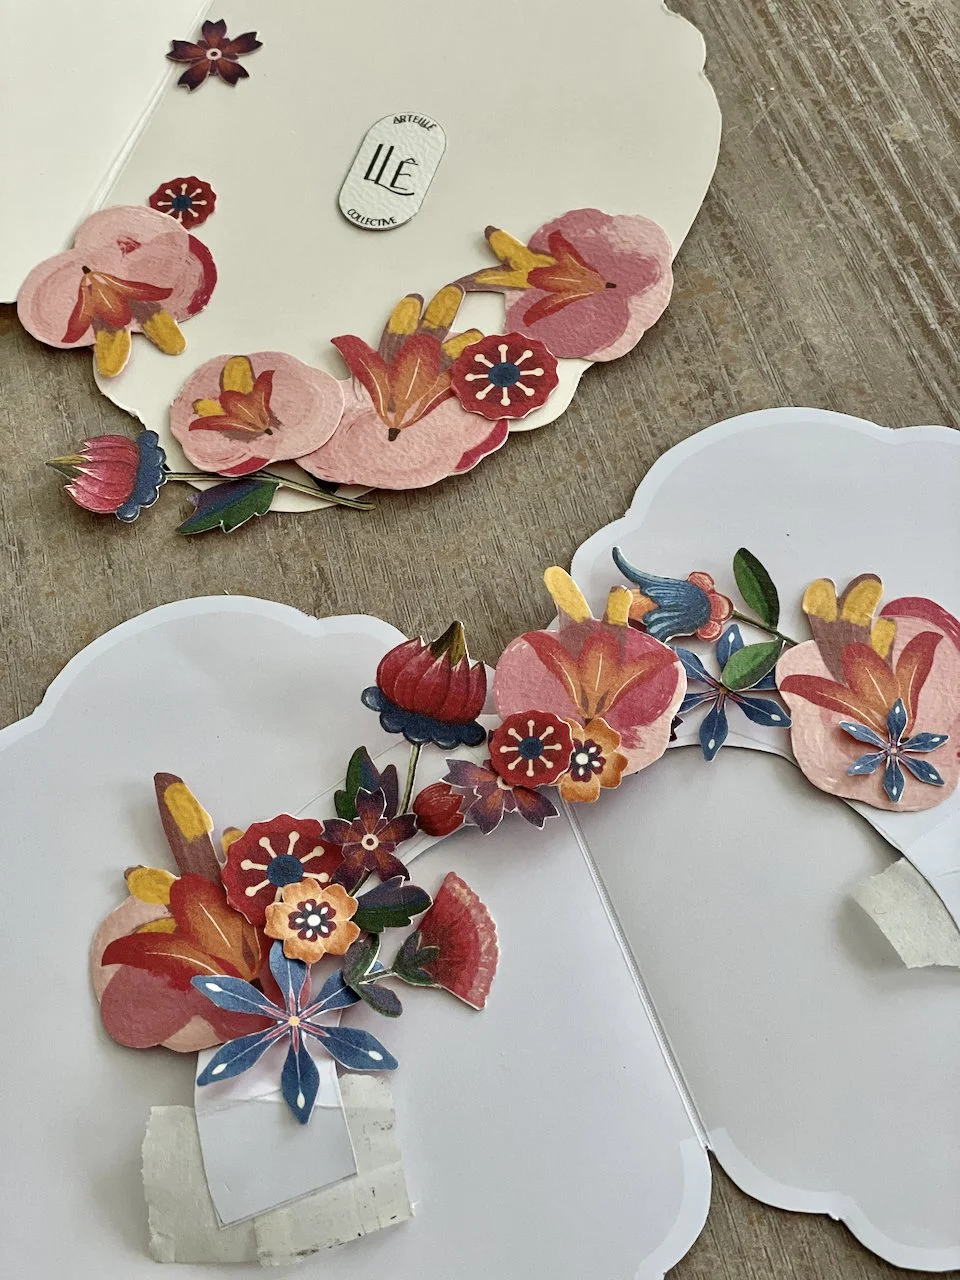
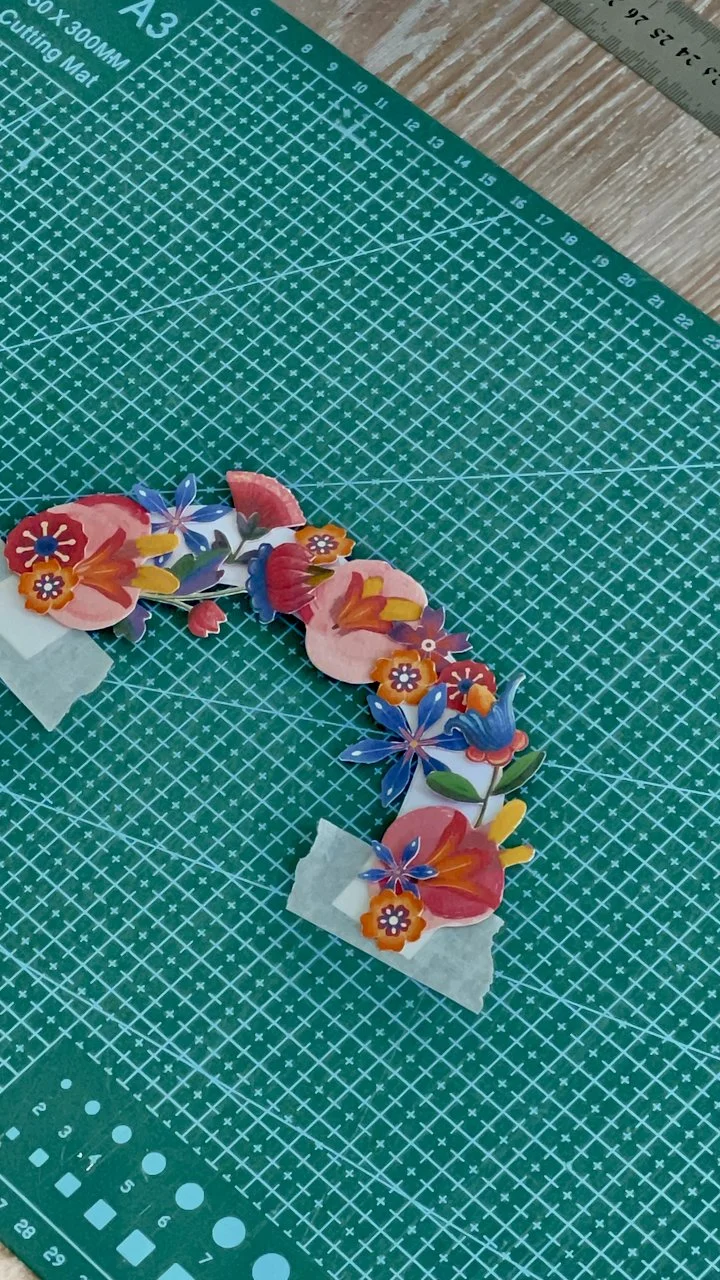
5. Add Your Florals and Decorations
Now comes the fun part—decorating your pop-up card!
👉 Helpful tip:
Before gluing anything down, create a test pop-up arch using draft paper. Tape it flat to a surface with masking tape and experiment with arranging your decorations first.
Once you're happy with your layout:
Glue your floral and decorative elements onto the pop-up arch
Take your time and enjoy the process
Try layering elements to create depth and dimension
You can also attach a few extra floral pieces near the base of the pop-up arch to help conceal the structure and enhance the overall design.
👉 Another tip:
Double-sided tape is useful because it allows you to lift and reposition elements if needed.


👉 Optional:
To enhance the design, we added 3–4 matching floral cut-outs to the front of the card, especially along the edges, to create a subtle 3D layered effect.
You can also add pops of shine to the small details on your card using glitter glue or glitter pens, metallic markers, etc. For our card, we used metallic markers in gold and silver to add a soft shimmer inside the flowers. Finally, finish your card with a ribbon tie or tassel for an extra special touch.
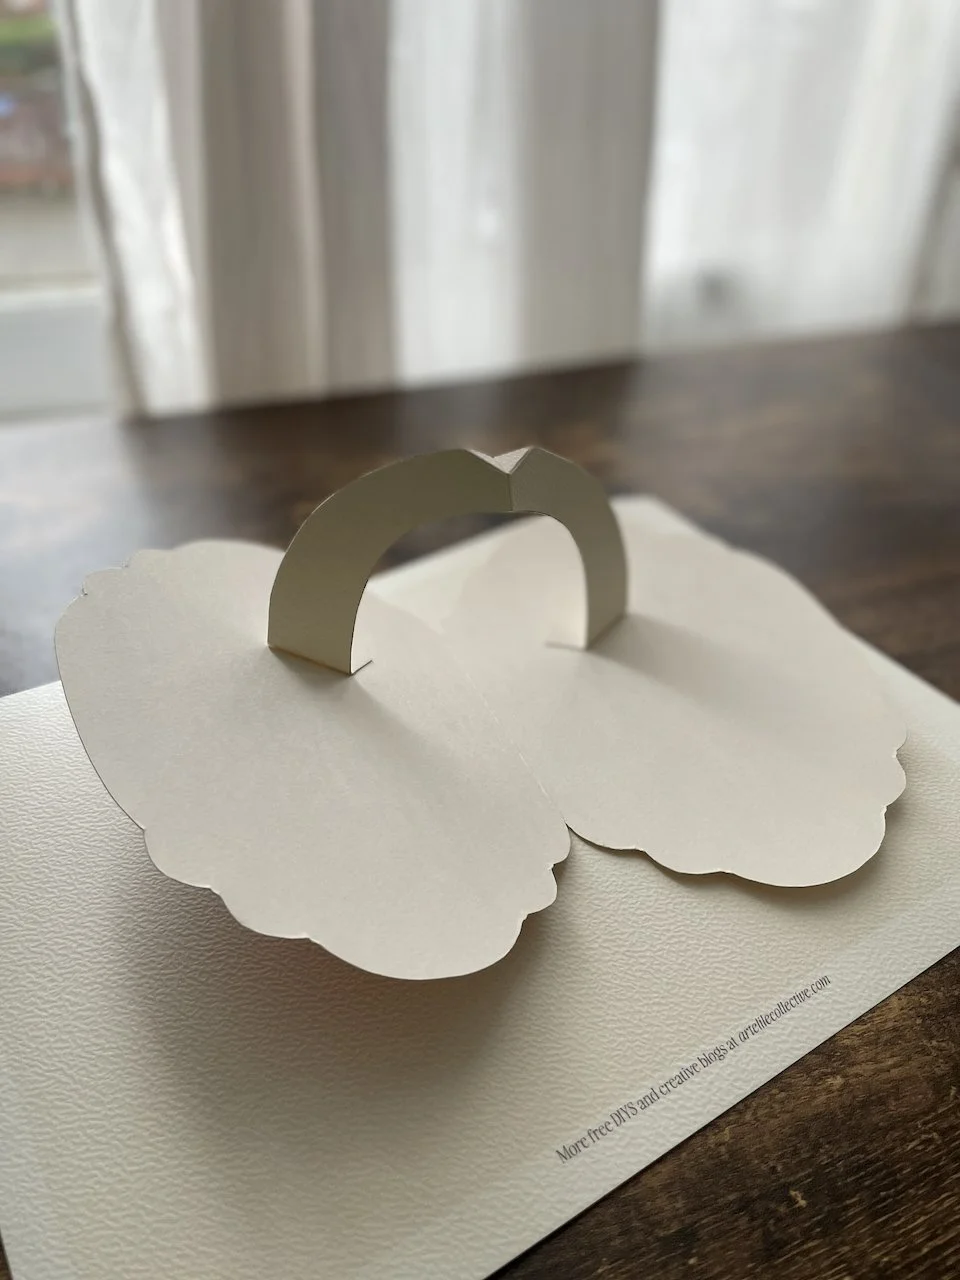
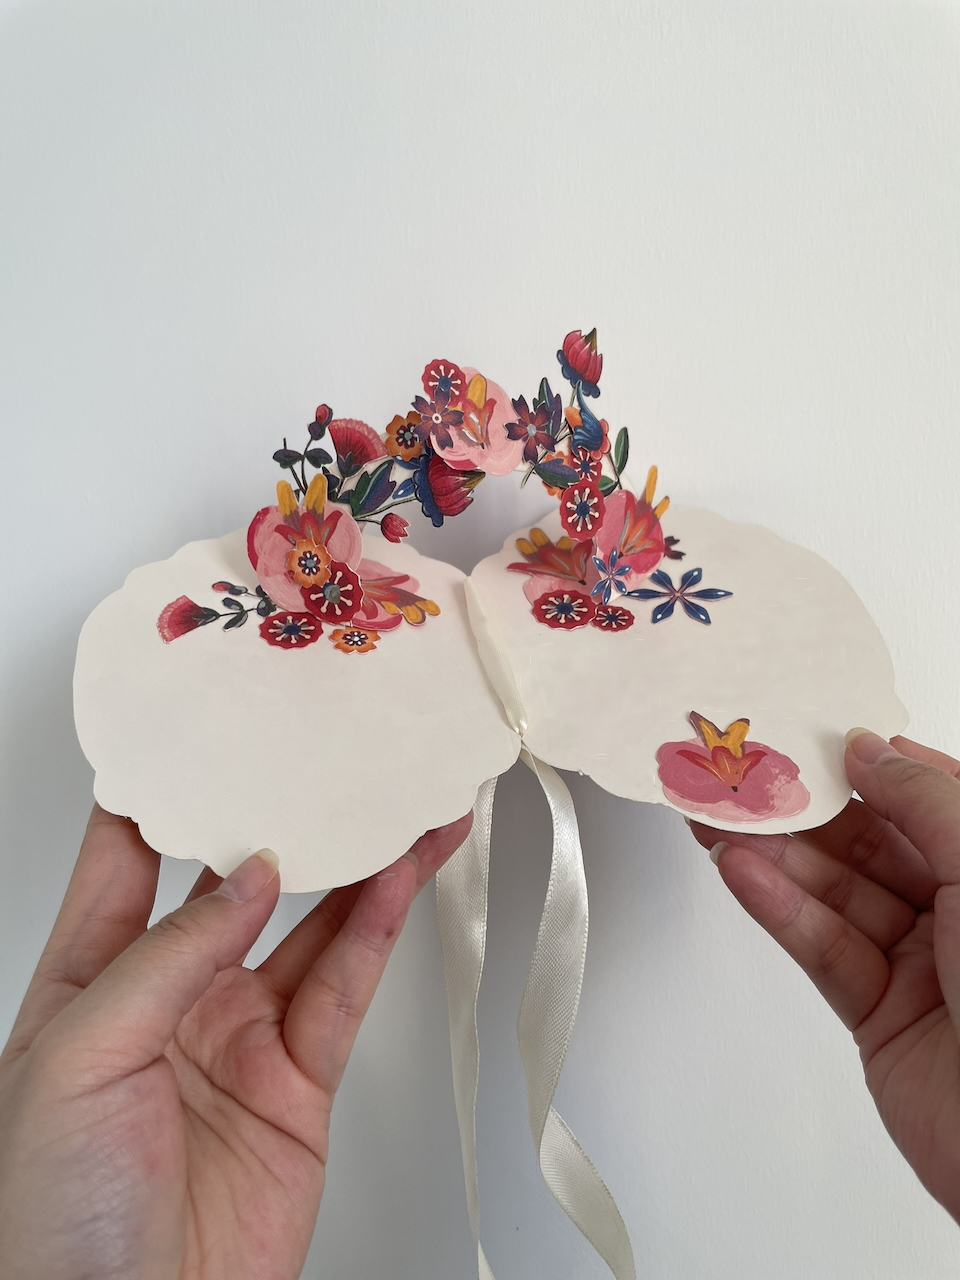
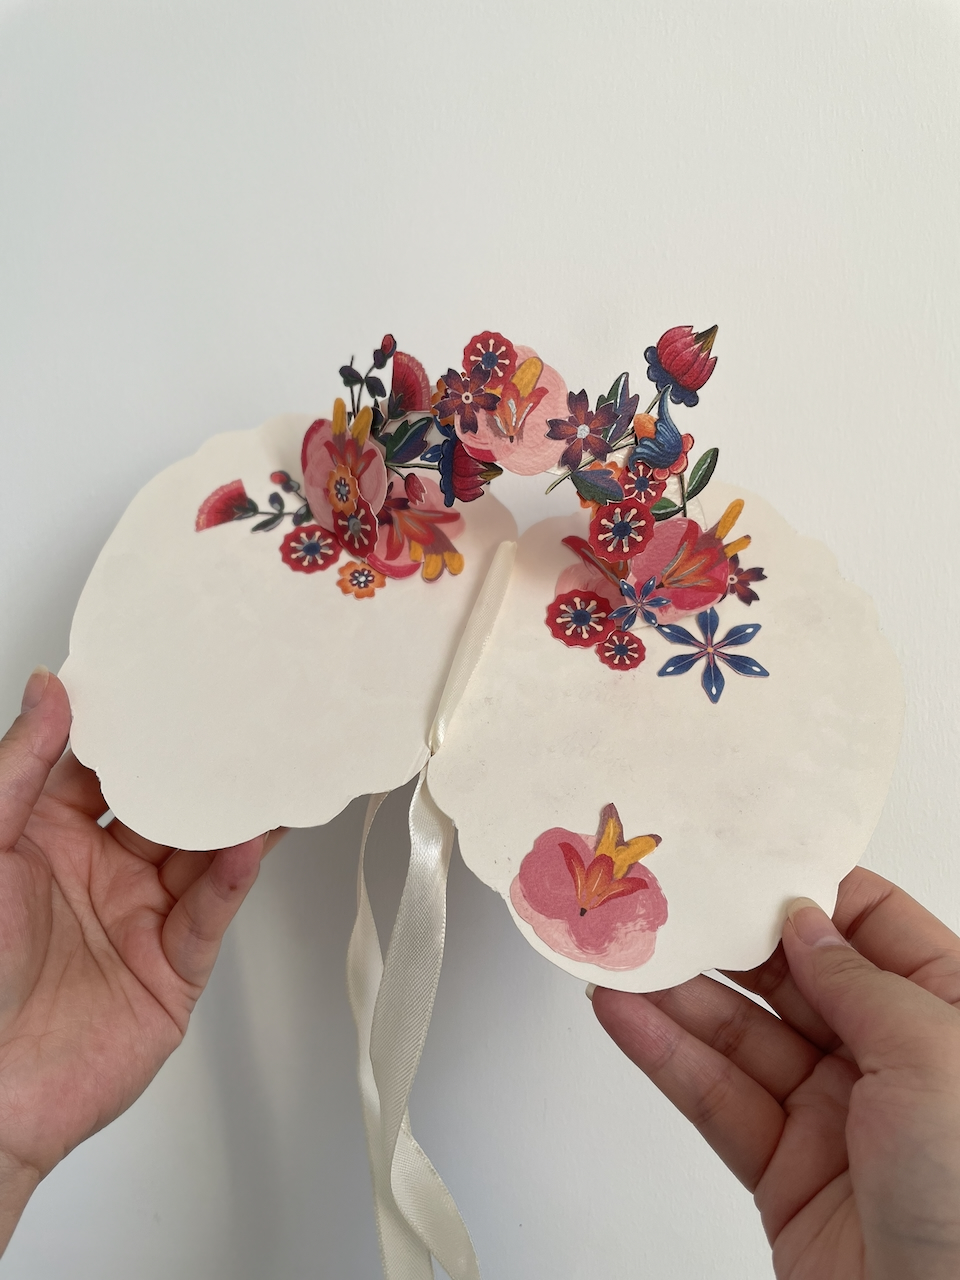
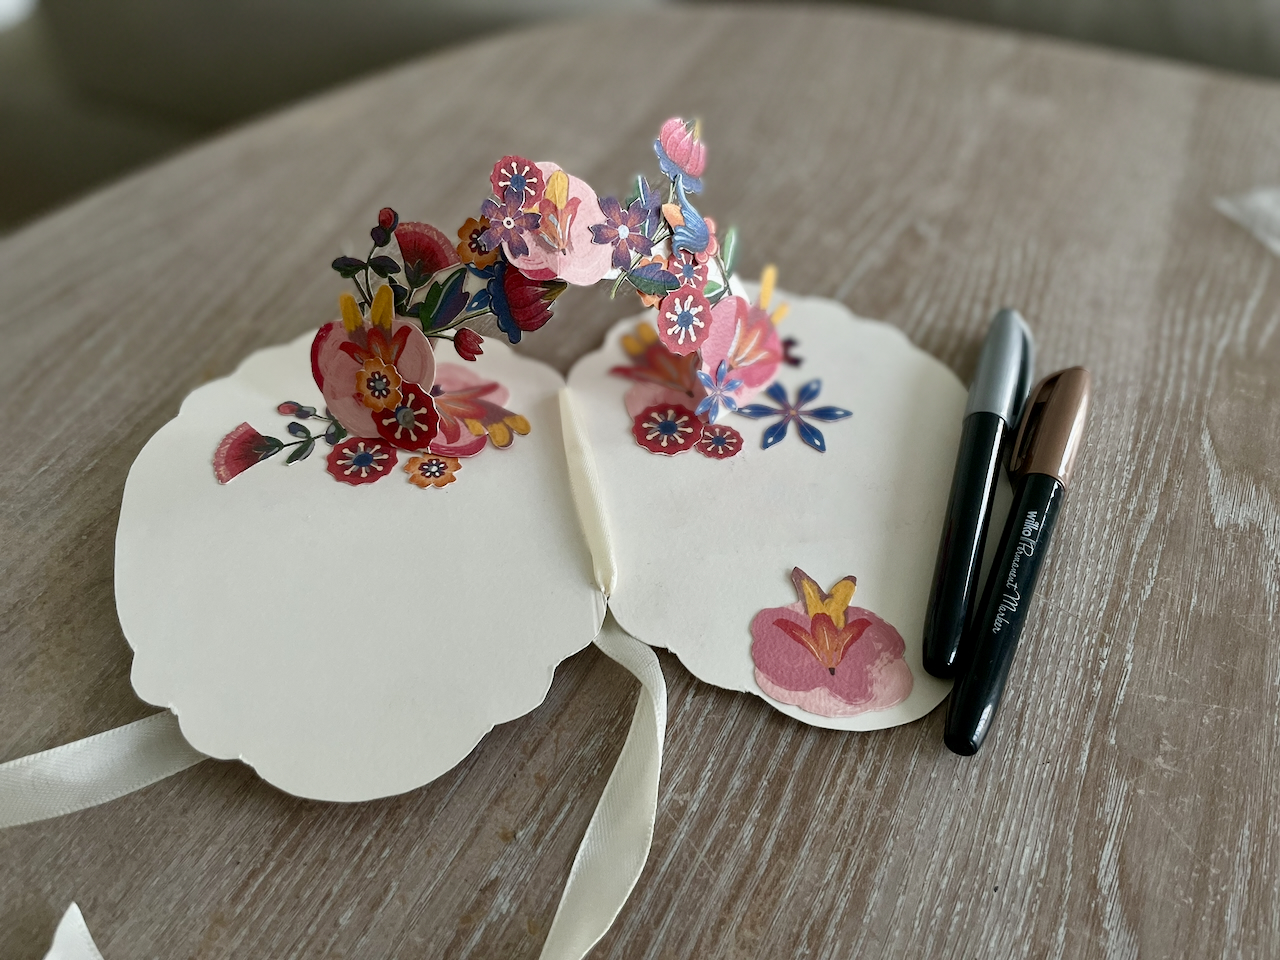
6. Finish Your Card
Your Spring Inspired Pop Up Card is now complete.
All that’s left to do is write your message inside and share it with someone special.
What Do You Think?
We hope this DIY tutorial is enjoyable, and that our template helps you easily create your own beautiful spring inspired pop up card at home.
A handmade card is a thoughtful way to send springtime wishes to family, friends, or colleagues—and it’s often the little personal touches that mean the most.
If you make this card, we’d love to see it. Feel free to follow and tag @ArteliLeCollective on Instagram and share your ideas with our creative community.
Happy crafting 🌸
🔗 Our FREE Pop Up Card Template 🔗
Fancy more giveaways, freebies and FREE download templates straight into your inbox? Make sure you give us a follow.
Or check out our ArteliLe Collective Shop for handmade treasures, slow craft and unique gifting.